
How to Create a Drop Zone at Home
—
August 26th, 2022
If you find yourself losing your keys often, or your children’s shoes and backpacks are always scattered all over the place, it may be time to consider creating a drop zone. A drop zone is a great addition to your home and will help keep your entryway decluttered and organized while giving you more storage space to work with. With just a few easy steps and the help of National Storage, you’ll create the perfect drop zone in your house.
What Is a Drop Zone in a House?
A drop zone is a designated space in your home, usually in the entryway, meant to hold your everyday items. This can range anywhere from hats, coats, boots, keys, umbrellas, purses, backpacks, and more—anything you need to grab quickly on your way out of the door. Adding this drop space into your home helps keep your entryway organized and makes busy mornings go a little smoother with everything in one place.
Step 1: Pick a Space
The first step to building your drop space is to decide on a space in your home. Most people choose the area that they enter and leave their homes the most. This may be a space near the garage, near the front door, or in the kitchen. Decide on a space that makes the most sense for you and your family’s habits.
Step 2: Clear the Space
Next, you’ll want to clear the designated space to make room for your new drop zone. If you have any bulky furniture, storage boxes, or bins in the way, you’ll want to remove them from the area so you can start with a clean slate.Don’t fret—you don’t have to throw away or donate anything that may be in the way. If you don’t have storage space in your home, consider renting a storage unit with National Storage. That way, you can keep your furniture, seasonal clothing, and other items in a secure unit, ready to go whenever you need them again.
Step 3: Build Your Drop Zone
Now that you have a clean slate, you can begin building your drop zone. Start by installing your drop zone essentials. This will vary from household to household, but most drop zones will have:
- Wall hooks for coats, hats, backpacks, and bags
- A designated space for umbrellas
- Storage shelves for shoes and boots
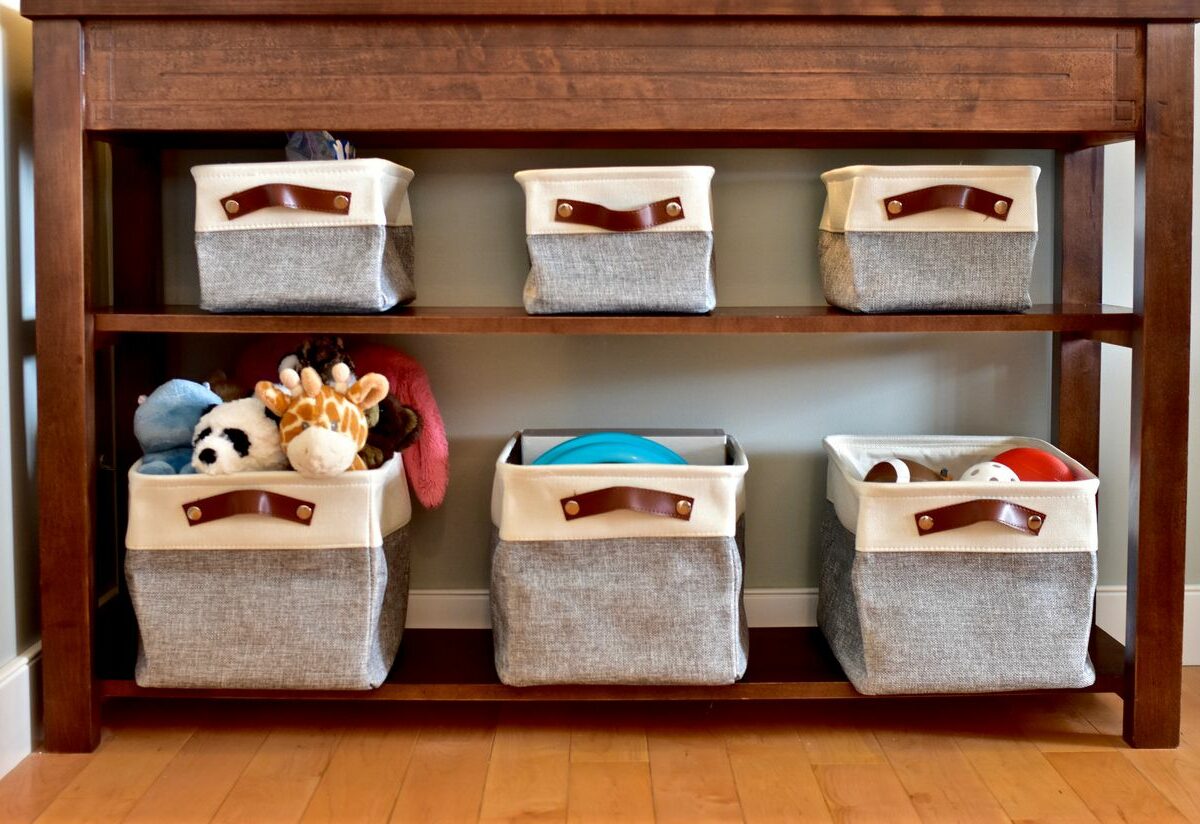
- Bins and baskets for wallets, keys, clutches, and other smaller loose items
After you put together all of your essentials in your drop zone, you can start adding things that fit your family’s specific needs. For instance, if you have a furry friend, you could add a bin for easy access to toys, leashes, and collars. You could also include a bench or chair to make it easier for you and your little ones to put on and take off shoes and boots. Another great addition is a message board where you can display schedules, important notes and memos, grocery lists, and more, all in one convenient place.
Step 4: Decorate Your Drop Zone
Just because a drop zone is a functional space, doesn’t mean you can’t accessorize, decorate, and make it yours! Give your drop zone a pop of color by adding a bright accent rug or installing a fun wallpaper. Add some greenery to breathe some life into your space and a mirror to make sure all of your hairs are in place before heading out. Get creative and make your drop zone as unique as you want.
Make the Most of Your Drop Zone With National Storage
Don’t let lack of space prevent you from creating the drop zone you want and need. With the help of National Storage, you can maximize your space by storing your furniture, seasonal clothing, and other clutter in one of our affordable storage units. Find a storage facility near you and create the perfect drop zone in your home today.
Categories